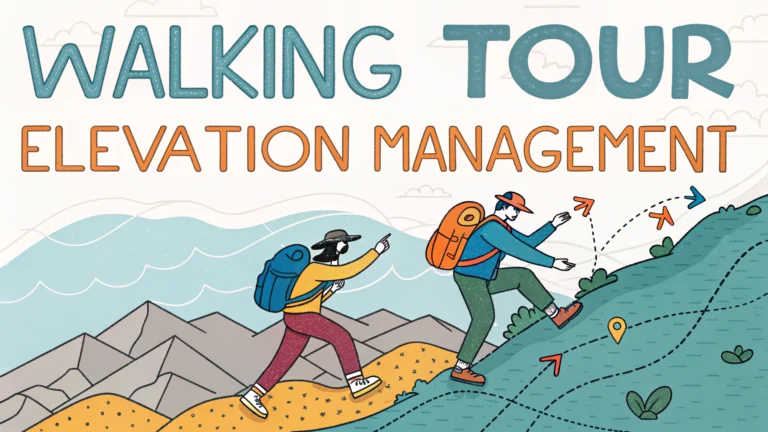
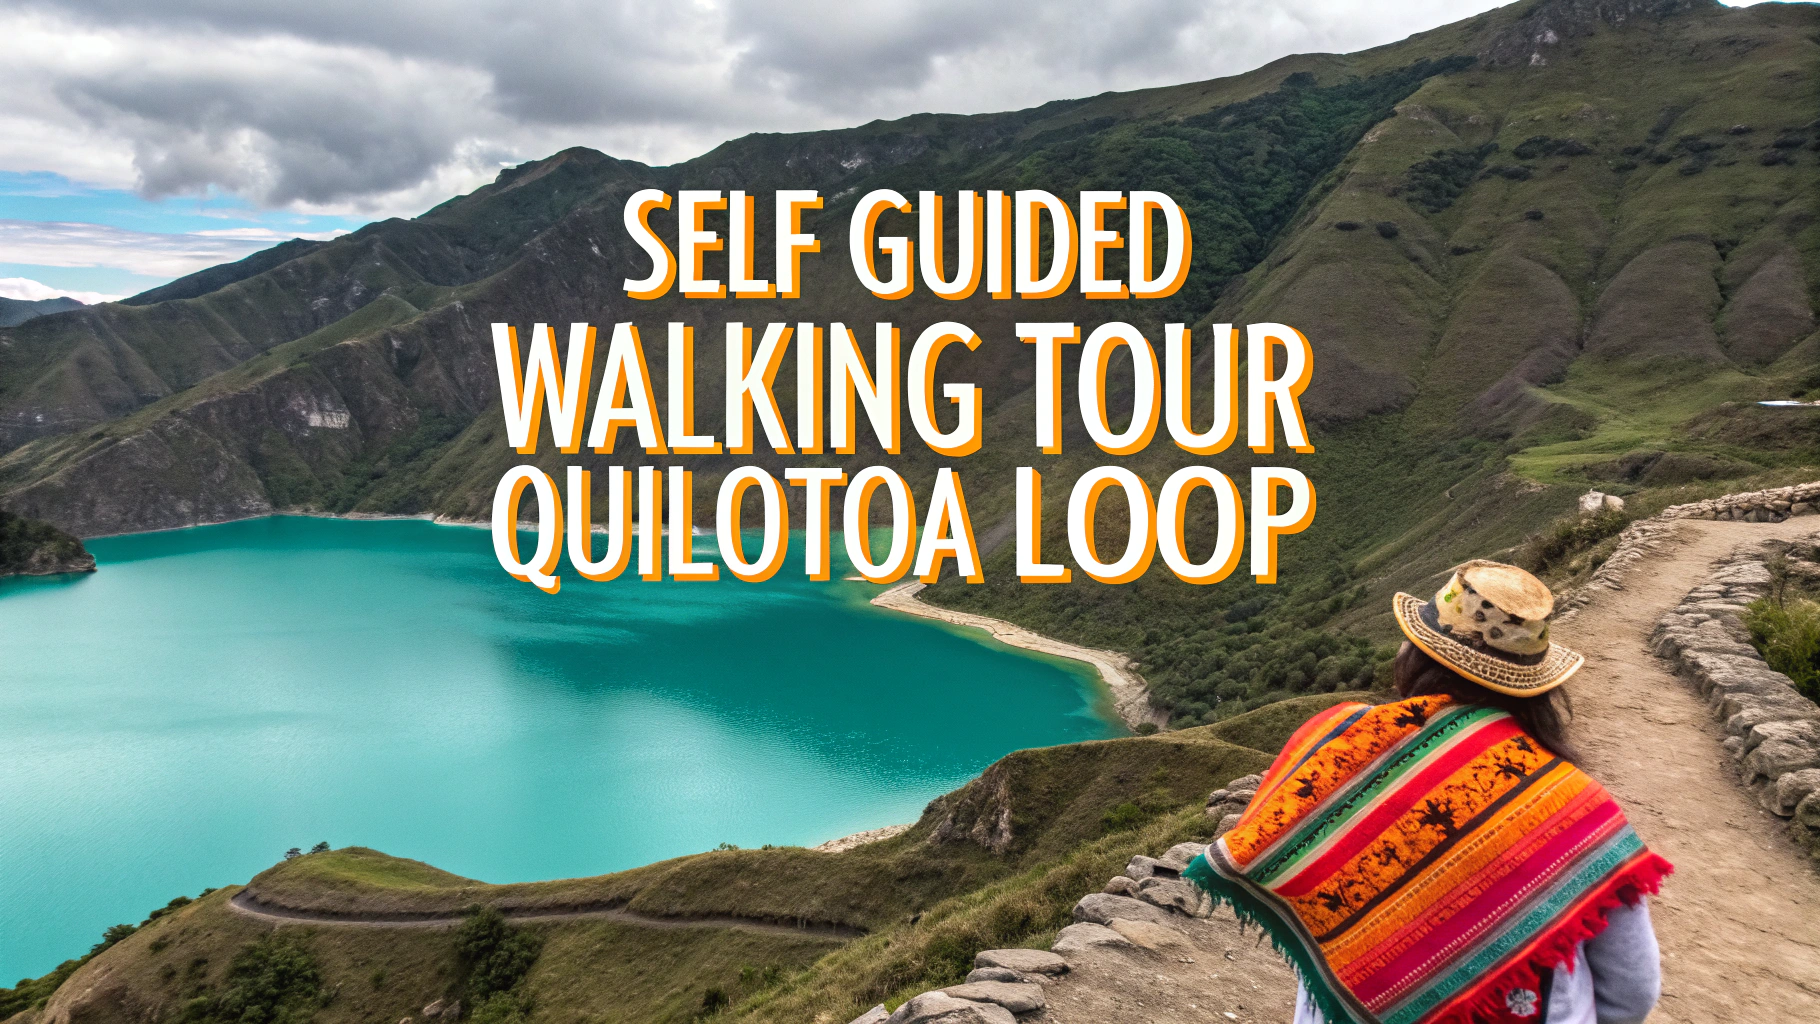
Managing elevation changes during walking tours requires proper planning and technique to maintain comfort and energy throughout your journey.
This quick guide covers essential strategies for handling elevation changes on self-guided walking tours.
Pre-Tour Planning
- Check elevation profiles using apps like AllTrails or Komoot
- Plan rest stops at viewpoints or flat sections
- Schedule harder uphill sections for early morning
- Build in extra time for steep sections
Equipment Recommendations
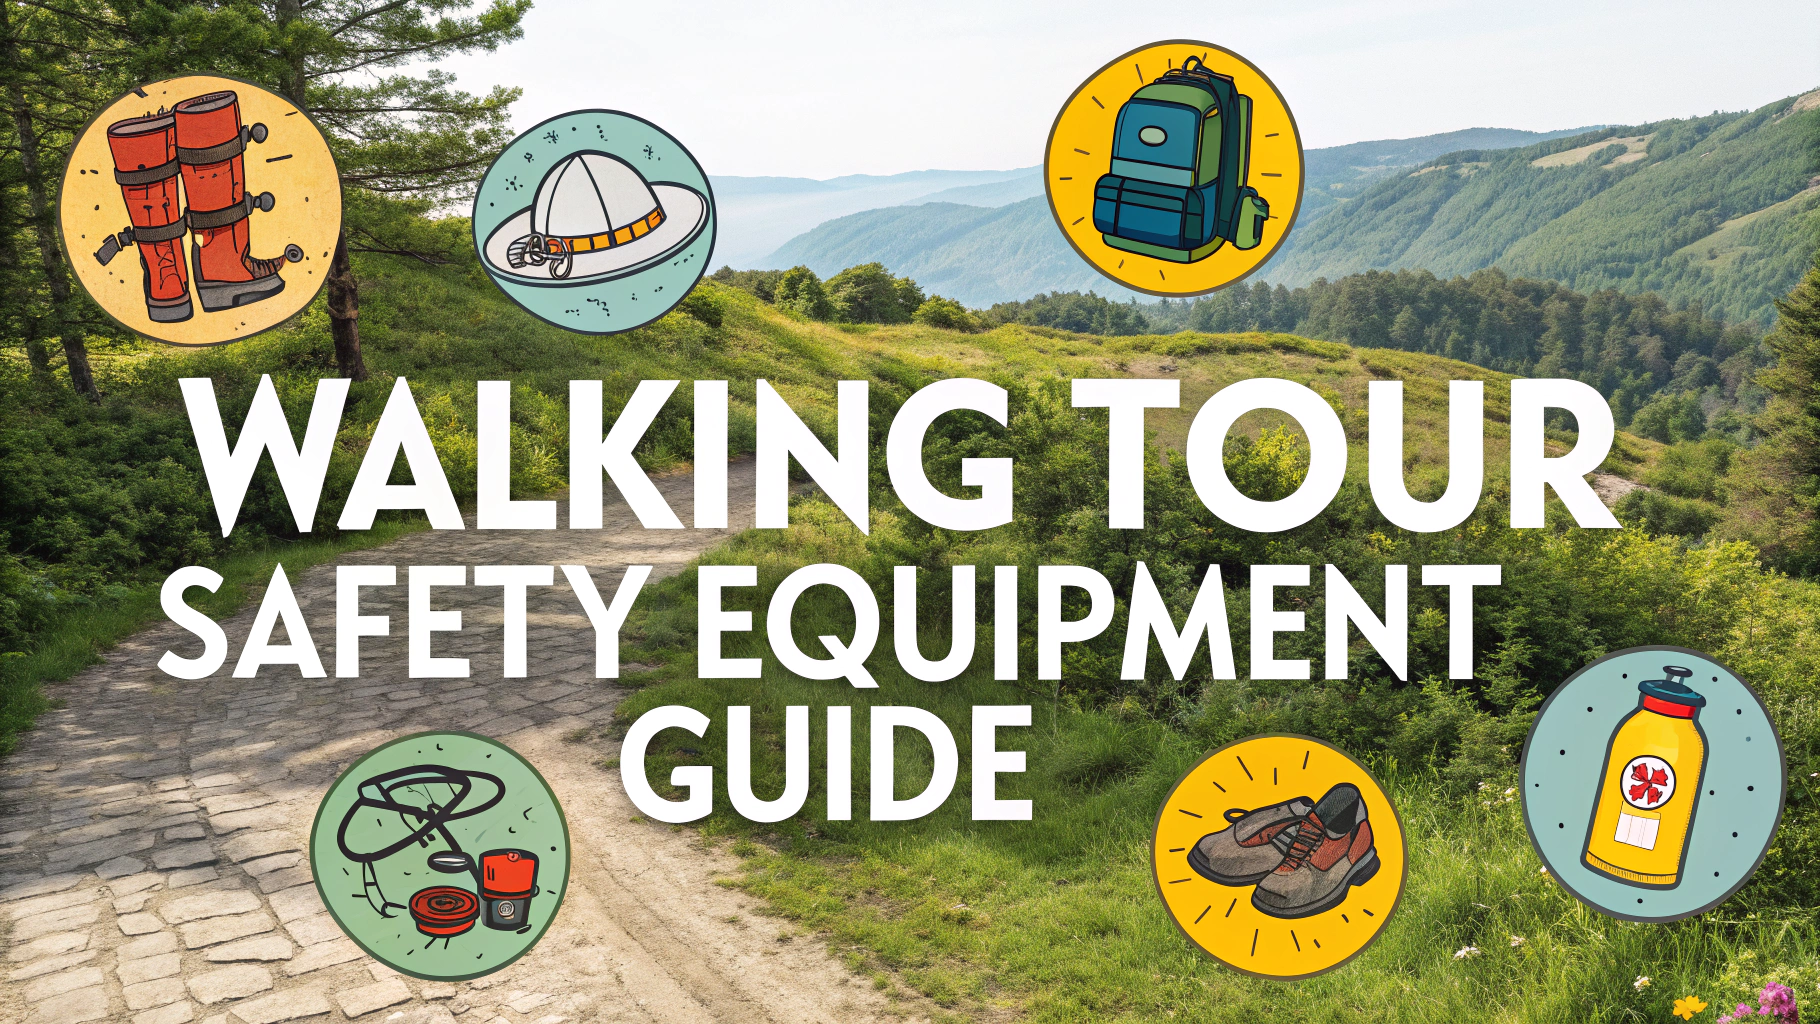
- Trekking poles: Black Diamond Trail Ergo Cork ($130) for stability
- Proper footwear: Salomon X Ultra 4 ($150) for grip and support
- Moisture-wicking layers
- Small backpack with water storage
Uphill Techniques
- Take shorter steps
- Maintain steady breathing
- Lean slightly forward
- Use switchbacks when possible
Downhill Strategies
- Keep knees slightly bent
- Land on your heels
- Use trekking poles for balance
- Walk diagonally on steep sections
Rest and Recovery Tips
| Activity Level | Rest Frequency | Duration |
|---|---|---|
| Moderate Terrain | Every 45-60 minutes | 5-10 minutes |
| Steep Terrain | Every 30 minutes | 10-15 minutes |
Elevation Sickness Prevention
- Stay hydrated (16-20 oz water per hour)
- Take frequent breaks above 8,000 feet
- Maintain steady pace
- Consider altitude medication for tours above 10,000 feet
Download offline maps and elevation profiles before your tour using apps like Maps.me or Gaia GPS.
Contact local hiking groups or tourist offices for current trail conditions and elevation-specific advice.
Emergency Contacts
- Emergency Services: 911 (US)
- Mountain Rescue: 112 (Europe)
- Local Rangers: Check park websites for specific numbers
Navigation Safety
- Mark key waypoints on your map
- Track elevation markers along the trail
- Download offline topographic maps
- Share route plans with someone at home
Weather Considerations
- Check weather at different elevations
- Plan for temperature changes (3-5°F per 1,000 ft)
- Bring extra layers for higher elevations
- Start early to avoid afternoon storms
Group Management
- Match pace to slowest member
- Keep group together on steep sections
- Establish clear communication signals
- Rotate lead position on long ascents
Post-Tour Recovery
- Gentle stretching exercises
- Rehydrate with electrolytes
- Log elevation data for future reference
- Document challenging sections
Conclusion
Successful elevation management combines proper planning, appropriate gear, and correct technique. Focus on steady pacing, regular breaks, and staying within your comfort zone. Always prioritize safety and be prepared to adjust plans based on conditions and group capabilities.
Additional Resources
- Local hiking clubs
- Trail maintenance websites
- Weather service elevation forecasts
- Park ranger stations
FAQs
- How do I manage elevation changes during a self-guided walking tour?
Plan your route to gradually tackle elevation changes, take frequent breaks on uphill sections, and use switchbacks when possible to reduce steepness. Check elevation profiles beforehand using apps or maps. - What’s the best way to prepare for a hilly walking tour?
Build stamina through regular walking practice, strengthen leg muscles, invest in proper footwear with good grip, and carry trekking poles for extra stability on steep sections. - How can I avoid altitude sickness during high-elevation walking tours?
Acclimatize gradually, stay hydrated, avoid alcohol, ascend slowly (no more than 1,000 feet per day), and take rest days when climbing above 8,000 feet. - What essential items should I carry for elevation changes?
Carry water, energy snacks, layered clothing, hiking poles, basic first aid, a detailed topographic map, and a reliable navigation device or smartphone with offline maps. - How do I determine the difficulty level of elevation changes?
Calculate the total elevation gain and loss, examine elevation profiles, check the grade percentage, and consider the distance between elevation changes to assess difficulty. - What’s the recommended pace for ascending steep sections?
Maintain a slow, steady pace using the “rest step” technique – briefly pausing between steps, keeping your back straight, and breathing rhythmically. - How do I protect my knees during steep descents?
Use trekking poles, walk sideways on very steep sections, keep knees slightly bent, and take shorter steps to reduce impact on knee joints. - What are the signs that I should stop or turn back?
Watch for excessive fatigue, dizziness, shortness of breath, chest pain, severe muscle cramps, or symptoms of altitude sickness like headache and nausea. - How do I plan rest stops during elevation changes?
Schedule breaks every 500-1000 feet of elevation gain, choose spots with good footing and views, and rest before you become exhausted. - What weather considerations are important for elevation changes?
Check weather forecasts, be prepared for temperature changes (roughly 3.5°F drop per 1,000 feet elevation gain), and watch for afternoon thunderstorms in mountainous areas.
