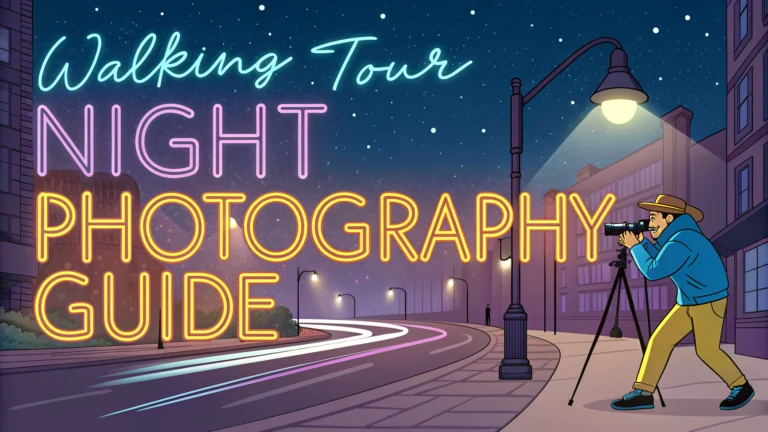
Night photography during walking tours offers unique opportunities to capture cityscapes, monuments, and street scenes in dramatic lighting.
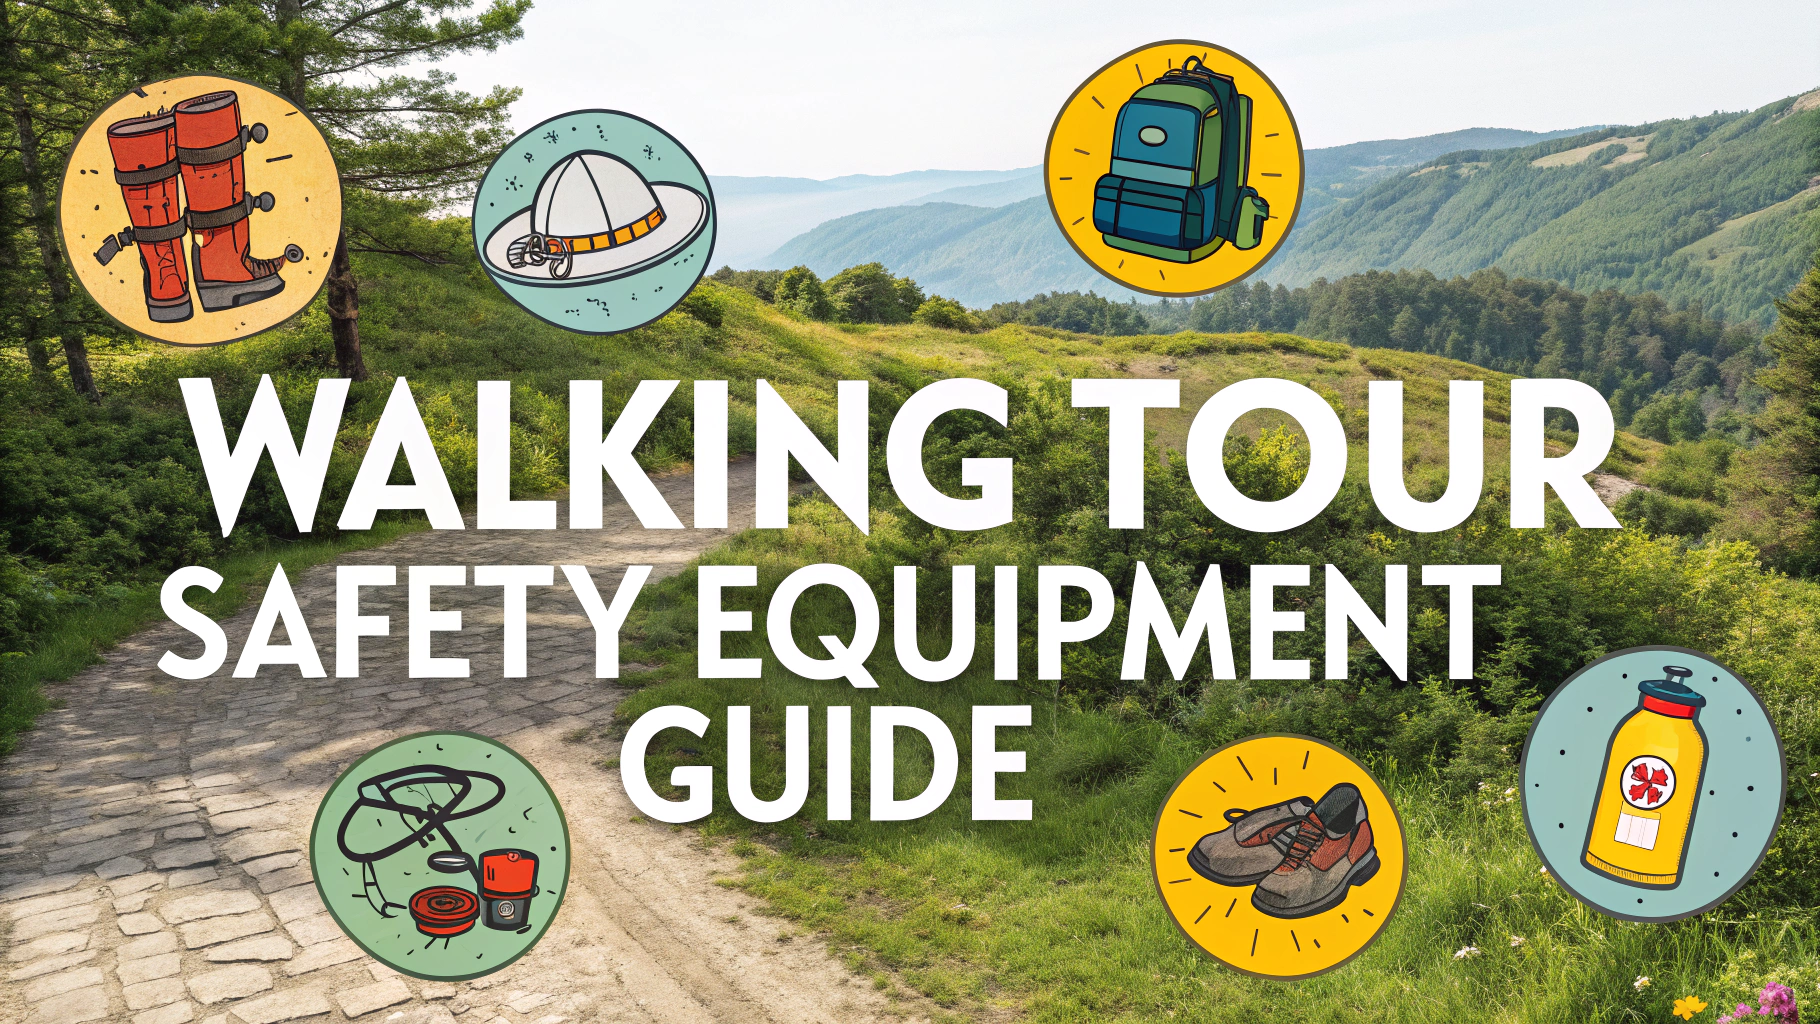
Essential Equipment
- Camera: Any camera with manual settings capability
- Tripod: A sturdy, lightweight travel tripod
- Remote shutter release or 2-second timer to prevent camera shake
- Extra batteries and memory cards
- Wide-angle lens (16-35mm recommended)
- Lens cleaning kit
Camera Settings for Night Photography
- ISO: Start at 100-400 to minimize noise
- Aperture: f/8 to f/11 for sharp cityscapes
- Shutter Speed: 2-30 seconds depending on lighting
- White Balance: Set to tungsten for urban lighting
Best Times for Night Photography
- Blue Hour: 20-30 minutes after sunset
- Golden Hour: 20-30 minutes before sunrise
- Full Dark: 2 hours after sunset for star trails
Safety Tips
- Walk with a photography buddy or group
- Wear reflective clothing
- Stay in well-lit areas
- Research safe neighborhoods beforehand
- Keep equipment close and secure
Composition Tips
- Include leading lines from street lights
- Frame shots using architecture
- Look for reflections in windows or water
- Capture light trails from passing vehicles
Popular Subjects for Night Photography
- Historic buildings and monuments
- City skylines
- Bridge structures
- Illuminated fountains
- Street scenes with neon signs
Weather Considerations
Light rain can create beautiful reflections, but protect your gear with a rain cover.
Foggy conditions can add mystery to urban scenes but require longer exposure times.
Clear nights work best for architectural photography and capturing city lights.
Post-Processing Tips
- Adjust white balance to correct color casts from artificial lighting
- Remove noise in darker areas
- Enhance contrast to make city lights pop
- Straighten vertical lines in architectural shots
Remember to respect private property and local photography regulations when shooting at night.
Consider joining local photography groups that organize night photography walks (Meetup.com/photography is a good resource).
Advanced Techniques
- Long exposure light painting with flashlights
- Multiple exposure blending for dynamic range
- Focus stacking for front-to-back sharpness
- Time-lapse sequences of changing city lights
- HDR photography for challenging lighting conditions
Common Challenges and Solutions
Mixed Lighting
- Use custom white balance settings
- Shoot in RAW format for more flexibility
- Consider using color gels on external flashes
Motion Blur
- Increase ISO in windy conditions
- Use image stabilization when possible
- Weight down tripod for stability
Location Research
- Scout locations during daylight hours
- Check sunset and sunrise times
- Research special events with unique lighting
- Obtain necessary permits for restricted areas
Conclusion
Successful night photography during walking tours requires careful planning, the right equipment, and attention to technical details. Practice different techniques in familiar locations before venturing to new areas. Remember that patience and experimentation are key to capturing compelling nighttime images.
Start with basic techniques and gradually incorporate advanced methods as your skills improve. Join photography communities to share experiences and learn from others’ expertise. Most importantly, prioritize safety while pursuing your creative vision.
FAQs
- What camera settings are best for night walking photography tours?
Use manual mode with ISO 800-3200, aperture f/2.8-f/4, and shutter speed 1/60 or slower. Enable image stabilization and shoot in RAW format. - What essential equipment do I need for a night photography walking tour?
A sturdy tripod, remote shutter release, wide-angle lens, spare batteries, weather protection, comfortable walking shoes, and a flashlight or headlamp. - How can I capture sharp images while walking at night?
Use image stabilization, increase ISO sensitivity, brace yourself against stable objects, practice proper breathing techniques, and consider using burst mode. - What are the best locations for night walking photography tours?
City centers with architectural lighting, historic districts, waterfront areas, bridges, public parks with lighting, and areas with neon signs or holiday illuminations. - How do I plan a safe night photography walking route?
Research well-lit areas, stick to populated locations, inform others of your route, walk with a group if possible, and carry emergency contacts and basic safety equipment. - What weather conditions are optimal for night walking photography?
Clear skies for starscapes, slight humidity for atmospheric street scenes, after-rain conditions for reflections, and stable conditions without strong winds. - How do I capture light trails during my walking tour?
Use long exposures (10-30 seconds), set up on a tripod, position yourself safely away from traffic, and shoot during blue hour or peak traffic times. - What focusing techniques work best for night photography while walking?
Use manual focus, focus on well-lit areas or edges, utilize your camera’s live view, and pre-focus at specific distances using the distance scale. - How do I protect my camera equipment during night walking tours?
Use weather-sealed gear when possible, carry microfiber cloths for condensation, protect against theft with secure straps, and use a weatherproof camera bag. - What post-processing techniques are essential for night walking tour photos?
Noise reduction, white balance adjustment, selective exposure compensation, lens correction for distortion, and careful shadow and highlight recovery.